零成本搭建个人博客
引言:利用 Github Pages + jekyll 搭建个人博客
基础搭建
官方文档写的很清楚,这个部分就不详细叙述了
写博客
-
在_post文件夹中创建一个名为“yyyy-mm-dd-title”的md文件
如: 2018-01-24-零成本搭建个人博客.md -
将下面的文字添加到该文件顶部
--- title: 标题 tag: 标签 --- - 使用markdown语法写文章
- 提交修改到GitHub
补充: 利用rake可以帮助你快速的创建博客文件,具体如何操作请自行百度“rake+jekyll”
自定义博客网站
准备工作
- 打开终端输入
cd 你的博客站点根目录 open $(bundle show minima)将打开的minima文件夹中的4个文件夹复制黏贴到你的站点根目录中,目的是可以通过修改这4个文件夹中的文件实现自定义,具体说明看overriding-theme-defaults
- 下载 bootstrap 并放到你的网站根目录下
-
在_includes/footer.html最下面加入
<!-- jQuery (Bootstrap 的 JavaScript 插件需要引入 jQuery) --> <script src="https://code.jquery.com/jquery.js"></script> <!-- 包括所有已编译的插件 --> <script src="/bootstrap-4.3.1/js/bootstrap.min.js"></script> -
在_includes/head.html中head标签内加入
<!-- 引入 Bootstrap --> <link href="https://maxcdn.bootstrapcdn.com/bootstrap/3.3.7/css/bootstrap.min.css" rel="stylesheet"> - 修改_layouts/home.html
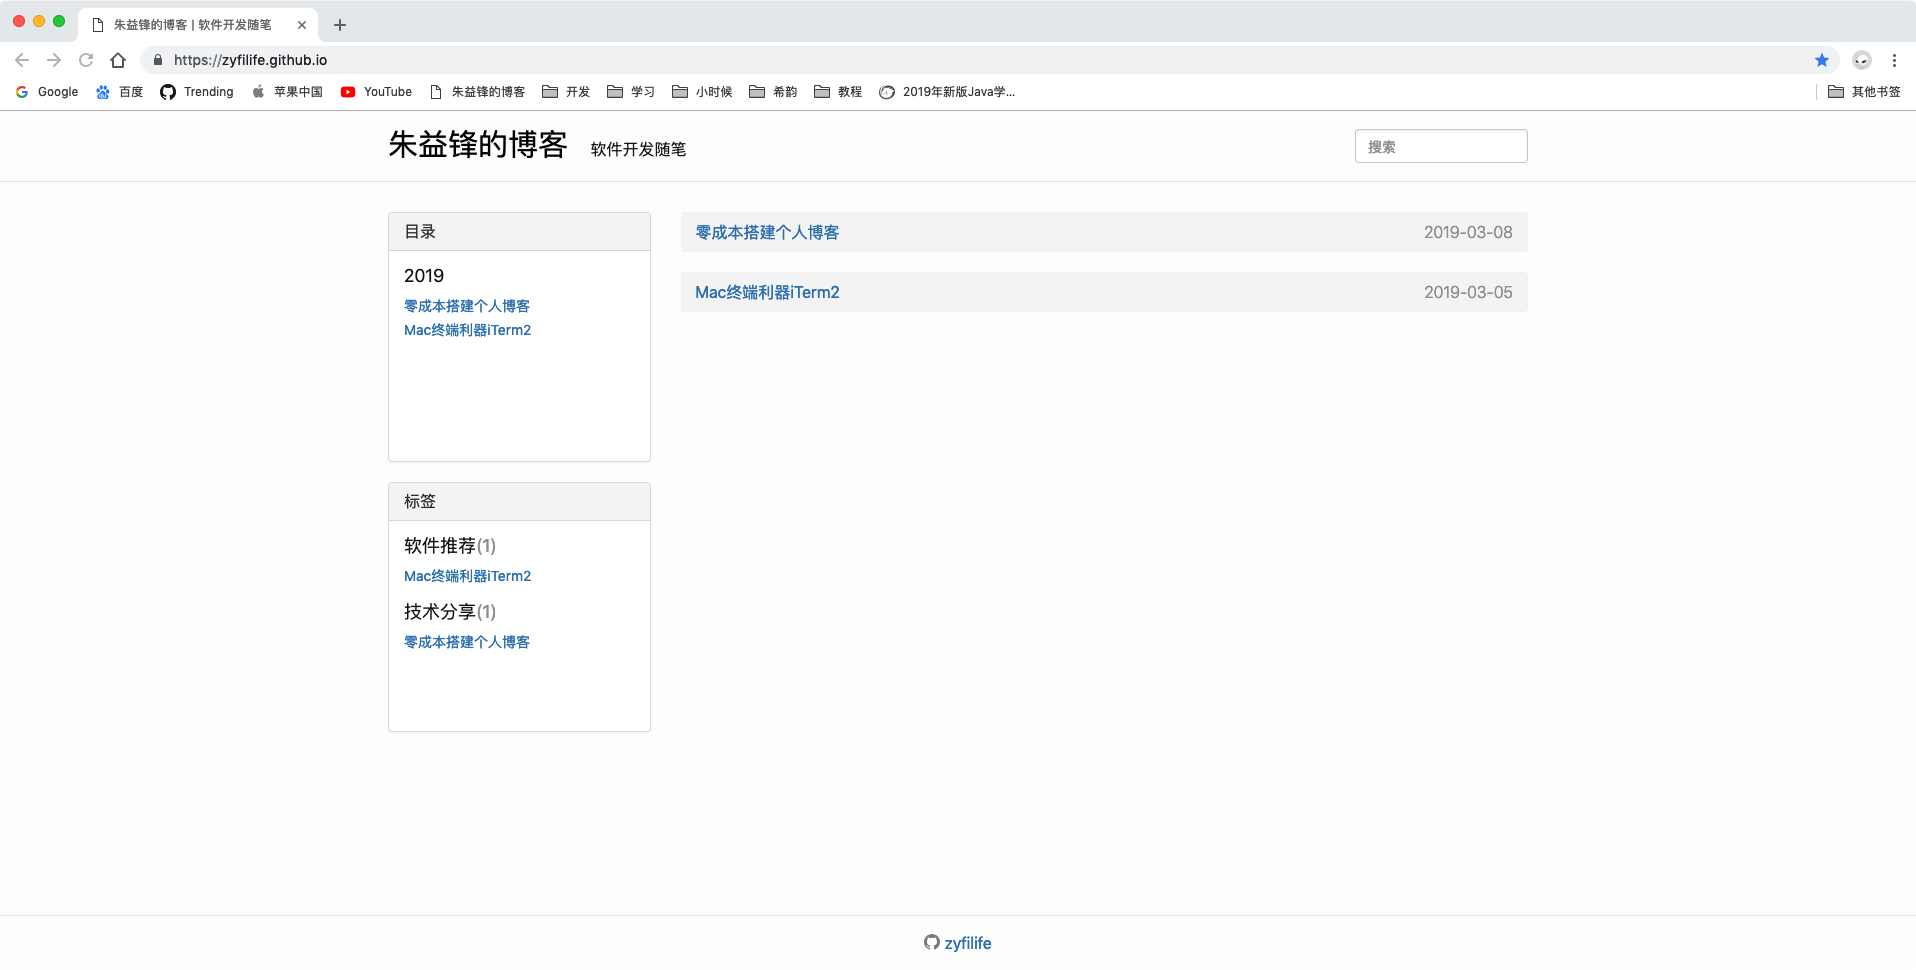
---
layout: default
---
<!-- 由于在代码块中写liquid语言,会被执行,因此代码块中用[替换{,用]替换}。请大家自行替换回去。 -->
[[content]]
<!-- 改变首页的显示结构,使用bootstrap的.row实现第一张图中博客结构效果-->
<div class="container">
	<div class="row">
		<div class="col-md-3 hidden-xs">
			<!-- 此处放标签栏和目录栏 -->
		</div>
		<div class="col-md-9" role="main" id="originalContainer">
          <!-- 此处放博客列表 -->
		</div>
		<div class="col-md-9" role="main" id="resultsBackContainer" style="overflow: auto; display: none;">
			<h1 class="post-title p-name" itemprop="name headline" style="margin-left: 0px; margin-bottom: 30px;">搜索结果</h1>
			<div id="results-container">
				<!-- 此处放搜索结果列表 -->
			</div>
		</div>
	</div>
</div>
标签栏
- 给博客添加标签
<!-- 在博客的yml头部加入tag字段 --> --- title: 标题 tag: 标签 --- - 获取所有的标签以及拥有某个特定标签的所有博客
<!-- 由于在代码块中写liquid语言,会被执行,因此代码块中用[替换{,用]替换}。请大家自行替换回去。 -->
<div class="panel panel-default" style="height: 250px; overflow: auto;">
    <div class="panel-heading" style="position: absolute; left: 16px; right: 16px;">
        <h3 class="panel-title">标签</h3>
    </div>
    <div class="panel-body" style="padding-top: 53px;">
        <!-- 用site.tags能获取到一个包含所有带有标签的博客的数组 -->
        [% for tag in site.tags %]
        <!-- tag[0]表示某个标签名,tag[1]表示包含该标签名的所有博客 -->
        [% assign pages_list = tag[1] %]
        <h4 style="margin-bottom: 8px;">[[ tag[0] ]]<span style="color: #999999;">([[pages_list.size]])</span></h4>
        <ul style="list-style: none; margin-left: 0px;">
            [% for node in pages_list %]
            [% if node.title != null %]
            <li><a class="sidebar" href="[[ node.url | prepend: site.baseurl ]]">[[ node.title ]]</a></li>
            [% endif %]
            [% endfor %]
        </ul>
        [% endfor %]
    </div>
</div>
效果如下:
标签
iOS(10)
- ZYFPlayer
- MYSheetView
- iOS启动页广告组件
- MYWebViewController
- MYVoiceRecoder
- MYRefresh
- ZYFNetworking
- Swift范型应用
- 个人网盘开发
- MYTextView
开源(7)
OSS(1)
代码设计(1)
基于AFNetworking(1)
基于MJRefresh(1)
基于WKWebView(1)
基于AVPlayer(1)
软件推荐(1)
技术分享(3)
目录
    <!-- 由于在代码块中写liquid语言,会被执行,因此代码块中用[替换{,用]替换}。请大家自行替换回去。 -->
  <div class="panel panel-default" style="height: 250px; overflow: auto;">
	  <div class="panel-heading" style="position: absolute; left: 16px; right: 16px;">
		  <h3 class="panel-title">
			  目录
		  </h3>
	  </div>
	  <div class="panel-body" style="padding-top: 53px;">
		  <!-- 获取站点内所有博客 -->
		  [% for post in site.posts %]
		  [% capture this_year %][[ post.date | date: "%Y" ]][% endcapture %]
		  [% capture next_year %][[ post.previous.date | date: "%Y" ]][% endcapture %]
		  <!-- 如果是循环内第一个元素,就添加一个年的标题,以及一个该年内所有博客的列表 -->
		  [% if forloop.first %]
		  <h4 style="margin-bottom: 8px;">[[this_year]]</h4>
		  <ul style="list-style: none; margin-left: 0px;">
		  [% endif %]
		  <li><a class="sidebar" href="[[ post.url | prepend: site.baseurl ]]">[[ post.title ]]</a></li>
		  <!-- 循环最后补上列表尾部标签 -->
		  [% if forloop.last %]
		  </ul>
		  [% else %]
		  <!-- 不是同一年的博客,补上列表尾部标签,并且另外添加一个年的标题,以及一个该年内所有博客的列表 -->
		  [% if this_year != next_year %]
		  </ul>
		  <h4 style="margin-bottom: 8px;">[[next_year]]</h4>
		  <ul style="list-style: none; margin-left: 0px;">
		  [% endif %]
		  [% endif %]
		  [% endfor %]
	  </div>
  </div>
效果如下:
目录
搜索功能
-
修改_includes/header.html
<header class="site-header" role="banner" style="padding-top: 10px;"> <div class="container"> <div style="float: left;"> <p> <a href="/" style="font-size: 30px; text-decoration: none; color: #000;">朱益锋的博客 </a> <span style="padding-left: 16px;">软件开发随笔</span> </p> </div> <!-- 由于在代码块中写liquid语言,会被执行,因此代码块中用[替换{,用]替换}。请大家自行替换回去。 --> <!-- 添加只在首页显示的搜索框 --> [%- if page.url == "/" -%] <form class="navbar-form navbar-right" role="search"> <div class="form-group"> <input type="text" class="form-control" id="search-input" placeholder="搜索"> </div> </form> [%- endif -%] <!-- end --> </div> </header> - 下载simple-jekyll-search
- 在站点根目录创建一个文件夹命名为search,并将刚才下载的项目中的simple-jekyll-search.js文件放进去
解释下该文件的作用:1、获取站点内所有博客数据,2、监听搜索框的输入,3、将与搜索框内文字匹配的博客写入搜索结果显示标签
- 在search文件夹中创建一个search.json文件,写入以下数据
<!-- 此文件的作用非常关键,用来将liquid获得的站点数据传递到js代码中使用--> --- layout: null --- [ <!-- 由于在代码块中写liquid语言,会被执行,因此代码块中用[替换{,用]替换}。请大家自行替换回去。 --> [% for post in site.posts %] { "title" : "[[ post.title | escape ]]", "category" : "[[ post.category ]]", "tags" : "[[ post.tags | join: ', ' ]]", "url" : "[[ site.baseurl ]][[ post.url ]]", "date" : "[[ post.date ]]" } [% unless forloop.last %],[% endunless %] [% endfor %] ] - 修改_includes/footer.html,在底部添加以下代码
<script src="/search/simple-jekyll-search.js"></script> <script> window.simpleJekyllSearch = new SimpleJekyllSearch({ searchInput: document.getElementById('search-input'), originalContainer: document.getElementById('originalContainer'), resultsContainer: document.getElementById('results-container'), resultsBackContainer: document.getElementById('resultsBackContainer'), json: '/search/search.json', searchResultTemplate: '<ul class="breadcrumb" style="margin-left: 0px;"><li style="width: 100%"><a class="postlink" href="{url}">{title}</a></li></ul>', noResultsText: '', limit: 10, fuzzy: false, exclude: ['Welcome'] }) </script> - 修改search/simple-jekyll-search.js
var options = { searchInput: null, //添加以下代码 originalContainer: null, resultsBackContainer: null, //end resultsContainer: null, json: [], success: Function.prototype, searchResultTemplate: '<li><a href="{url}" title="{desc}">{title}</a></li>', templateMiddleware: Function.prototype, sortMiddleware: function () { return 0 }, noResultsText: 'No results found', limit: 10, fuzzy: false, exclude: [] } function emptyResultsContainer () { options.resultsContainer.innerHTML = '' //添加以下代码 options.resultsBackContainer.style.display='none' options.originalContainer.style.display='block' //end } function appendToResultsContainer (text) { //添加以下代码 options.originalContainer.style.display='none' options.resultsBackContainer.style.display='block' //end options.resultsContainer.innerHTML += text } - 修改_layouts/home.html,为显示博客列表的div添加id=”“,并且在该div下面同级添加以下代码,用于显示搜索结果
<div class="col-md-9" role="main" id="resultsBackContainer" style="overflow: auto; display: none;">
	<h1 class="post-title p-name" itemprop="name headline" style="margin-left: 0px; margin-bottom: 30px;">搜索结果</h1>
	<div id="results-container">

	</div>
</div>
总结
至此,一个带有标签栏、目录栏和搜索框的个人博客就建立起来了。
对于有前端经验的朋友,其实只需要了解liquid语言提供诸如site.pages之类的获取站点数据的方法以及如何将站点数据传递给js后,就可以自行修改。
希望仔细看完全部的朋友能够进一步了解jekyll搭建个人博客的机制
预告 : 接下来的文章会讲解如何添加分页功能,以及如何修改代码块的显示样式